-
Contents
-
Table of Contents
-
Bookmarks
Quick Links
Wireless 2D Barcode Scanner
Full Manual
(Wireless Part)
V4.4
1
Related Manuals for Sunlux XL-9600
Summary of Contents for Sunlux XL-9600
-
Page 1
Wireless 2D Barcode Scanner Full Manual (Wireless Part) V4.4… -
Page 2: Table Of Contents
Content Version No…………………………3 Factory Default Setting……………………..3 Output Mode………………………….3 Data Transfer Mode……………………..3 Communication Mode……………………..4 USB interface type……………………….5 USB-HID Data type……………………….5 Inventory Mode……………………….5 Sound Set…………………………6 Sleep Time Set……………………….6 GS (group separator) characters conversion………………. 8 Letter case conversion……………………..8 Language Set……………………….. 9 2.4G Pairing…………………………12 Bluetooth HID Pairing……………………..12 Show or Hide the Keyboard in IOS………………..
-
Page 3: Version No
Version No. Version Number Factory Default Setting Restore Factory Default Note: the asterisk(*) is the factory default. Output Mode USB priority output(*) Note: When inserting USB cable, data only output by USB. Output at the same time Note: USB and 2.4G or Bluetooth output at the same time (depending on the communication mode), in which 2.4g or Bluetooth output is unsuccessful, alarm will be given.
-
Page 4: Communication Mode
Inventory Mode Note: The scanned barcodes will be saved automatically, please scan setting codes if you need to view statistical data or upload data. Automatic storage mode Note: When the distance is beyond, the data will be saved automatically. please scan setting code ‘upload all data’…
-
Page 5: Usb Interface Type
Please download or develop low-power Bluetooth SPP transmission software if you need to use this function. USB interface type USB-HID(*) USB-VCOM USB-HID Data type Transfer keyboard function keys Send ASCII Inventory Mode Clear All Saved Data Statistical Information…
-
Page 6: Sound Set
Upload All Data Sound Set Mute High(*) Medium Sleep Time Set No Sleep Sleep Now…
-
Page 7
1Min(*) 2Min 5Min 10Min 30Min Note: Keep pressing the button until you hear the first beep for about 8 seconds, release the button and the scanner will enter sleep. -
Page 8: Gs (Group Separator) Characters Conversion
GS (group separator) characters conversion None(*) GS converts to <GS> GS converts to | GS converts to ] GS converts to ^] Letter case conversion Normal Letter Case(*)
-
Page 9: Language Set
All Uppercase All Lowercase Case Inversion Language Set USA(*) German France Italy…
-
Page 10
Canadian Spain Brazil Sweden Portugal Belgium TurkeyF TurkeyQ… -
Page 11
Italian14 Netherlands Poland Finland Latin America Serbia Hungary… -
Page 12: 2.4G Pairing
Denmark Norway Japan 2.4G Pairing 2.4G Pairing Bluetooth HID Pairing Bluetooth HID Pairing Show or Hide the Keyboard in IOS Show or hide the virtual keyboard under IOS system Bluetooth HID Transfer Rate…
-
Page 13: Data Editor
Fast Medium(*) Ultra-low speed Data Editor Suffix Terminator character Setting Suffix-None Suffix-Enter(*) Suffix-Line…
-
Page 14: Hidden Character Settings
Suffix-Tab Suffix-Enter&Line Hidden character Settings Hide front character Hide back character Hide front character Steps: (1) Scan the setting code «Hide front character» (2) Set the first few digits of the sequence to hide, and use two data codes to represent the decimal number XX (3) Set how many digits (including their own data) are hidden from the first few digits in the sequence, using two digits…
-
Page 15: Add Prefix And Suffix Settings
Look up the data code table and scan the data code table ‘0’ and ‘5’ in turn; (4) Finally, scan the setting code «Saved and Finished Set». Remarks: Only operate (1) and (4), then you can clear the character settings before hiding or restore the factory.
-
Page 16
Saved and Finished Set Add Prefix Setting Steps: (1) Scan the setting code «Add Prefix setting» (2) Set the first few digits of the sequence to start inserting characters (including its own data), use two-digit «data code» Represents the decimal number XX (the first setting can be omitted, which is equivalent to setting «0», «1»), Please check the corresponding data code table (3) Scan the content that needs to be added in turn, please find the ASCII code table… -
Page 17: Hiding Front Character Shortcut Setting
2. In the original bar code, the suffix «12345» is added after the character ‘E’, while the original bar code The position of the code content ‘E’ is the 10th last character, so the data code «XX» For «1», «0», look up the data code table, and scan the barcode corresponding to the data code in turn.
-
Page 18: Hiding Back Character Shortcut Setting
Hide the first 6 bits Hide the first 7 bits Hide the first 8 bits Hiding back character shortcut setting Hide the back 1 bit Hide the back 2 bits Hide the back 3 bits Hide the back 4 bits…
-
Page 19: Data Code Table
Hide the back 5 bits Hide the back 6 bits Hide the back 7 bits Hide the back 8 bits Data Code Table…
-
Page 21: Ascii Code Table
ASCII Code Table Null SOH(start of headline) STX (start of text)
-
Page 22
» &… -
Page 23
< >… -
Page 25
Caps Lock… -
Page 26
PrintScreen Scroll Lock Pause Insert Home PageUp Delete PageDown RightArrow LeftArrow DownArrow UpArrow Num Lock(keypad) /(keypad) *(keypad) -(keypad) +(keypad) Enter(keypad) 1(keypad) 2(keypad) 3(keypad) -
Page 27: Add Ctrl、Shift、Alt、Gui Function Key
4(keypad) 5(keypad) 6(keypad) 7(keypad) 8(keypad) 9(keypad) 0(keypad) .(keypad) Add Ctrl、Shift、Alt、GUI function key Note: When there is a press, there must be a release. Press and release must be used in pairs Otherwise, there will be hot key issues such as data not uploading and computer lock screen L-Ctrl Press L-Shift Press L-Alt Press…
-
Page 28
R-Alt Release R-GUI Release…
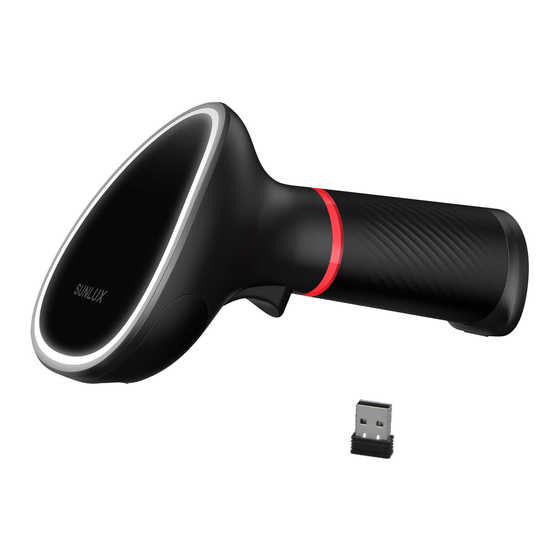
Беспроводной сканер Sunlux XL-9610 предназначается для считывания и обработки данных с различных штрих-кодов. Аппарат применяется на предприятиях торговли, в логистике и складском хозяйстве. Модель можно использовать при работе с лекарственными препаратами, алкогольными напитками, табачными изделиями, обувью и другими товарами со специальной маркировкой.
Особенности и преимущества Sunlux XL-9610
Sunlux XL-9610 подходит для использования в ЕГАИС и системе «Честный знак». Другие достоинства модели:
- Считывание распространенных форматов штрих-кодов, в том числе цветных и плохо читаемых;
- Обмен информацией с базовой станцией на расстоянии до 150 м;
- Встроенный модуль Bluetooth для беспроводного подключения сканера к кассе, смарт-терминалу или другим устройствам на расстоянии до 10 м;
- Внутренняя память позволяет одновременно хранить 100000 линейных кодов;
- Одного заряда аккумулятора на 2200 мАч хватает на выполнение 60000 операций сканирования.
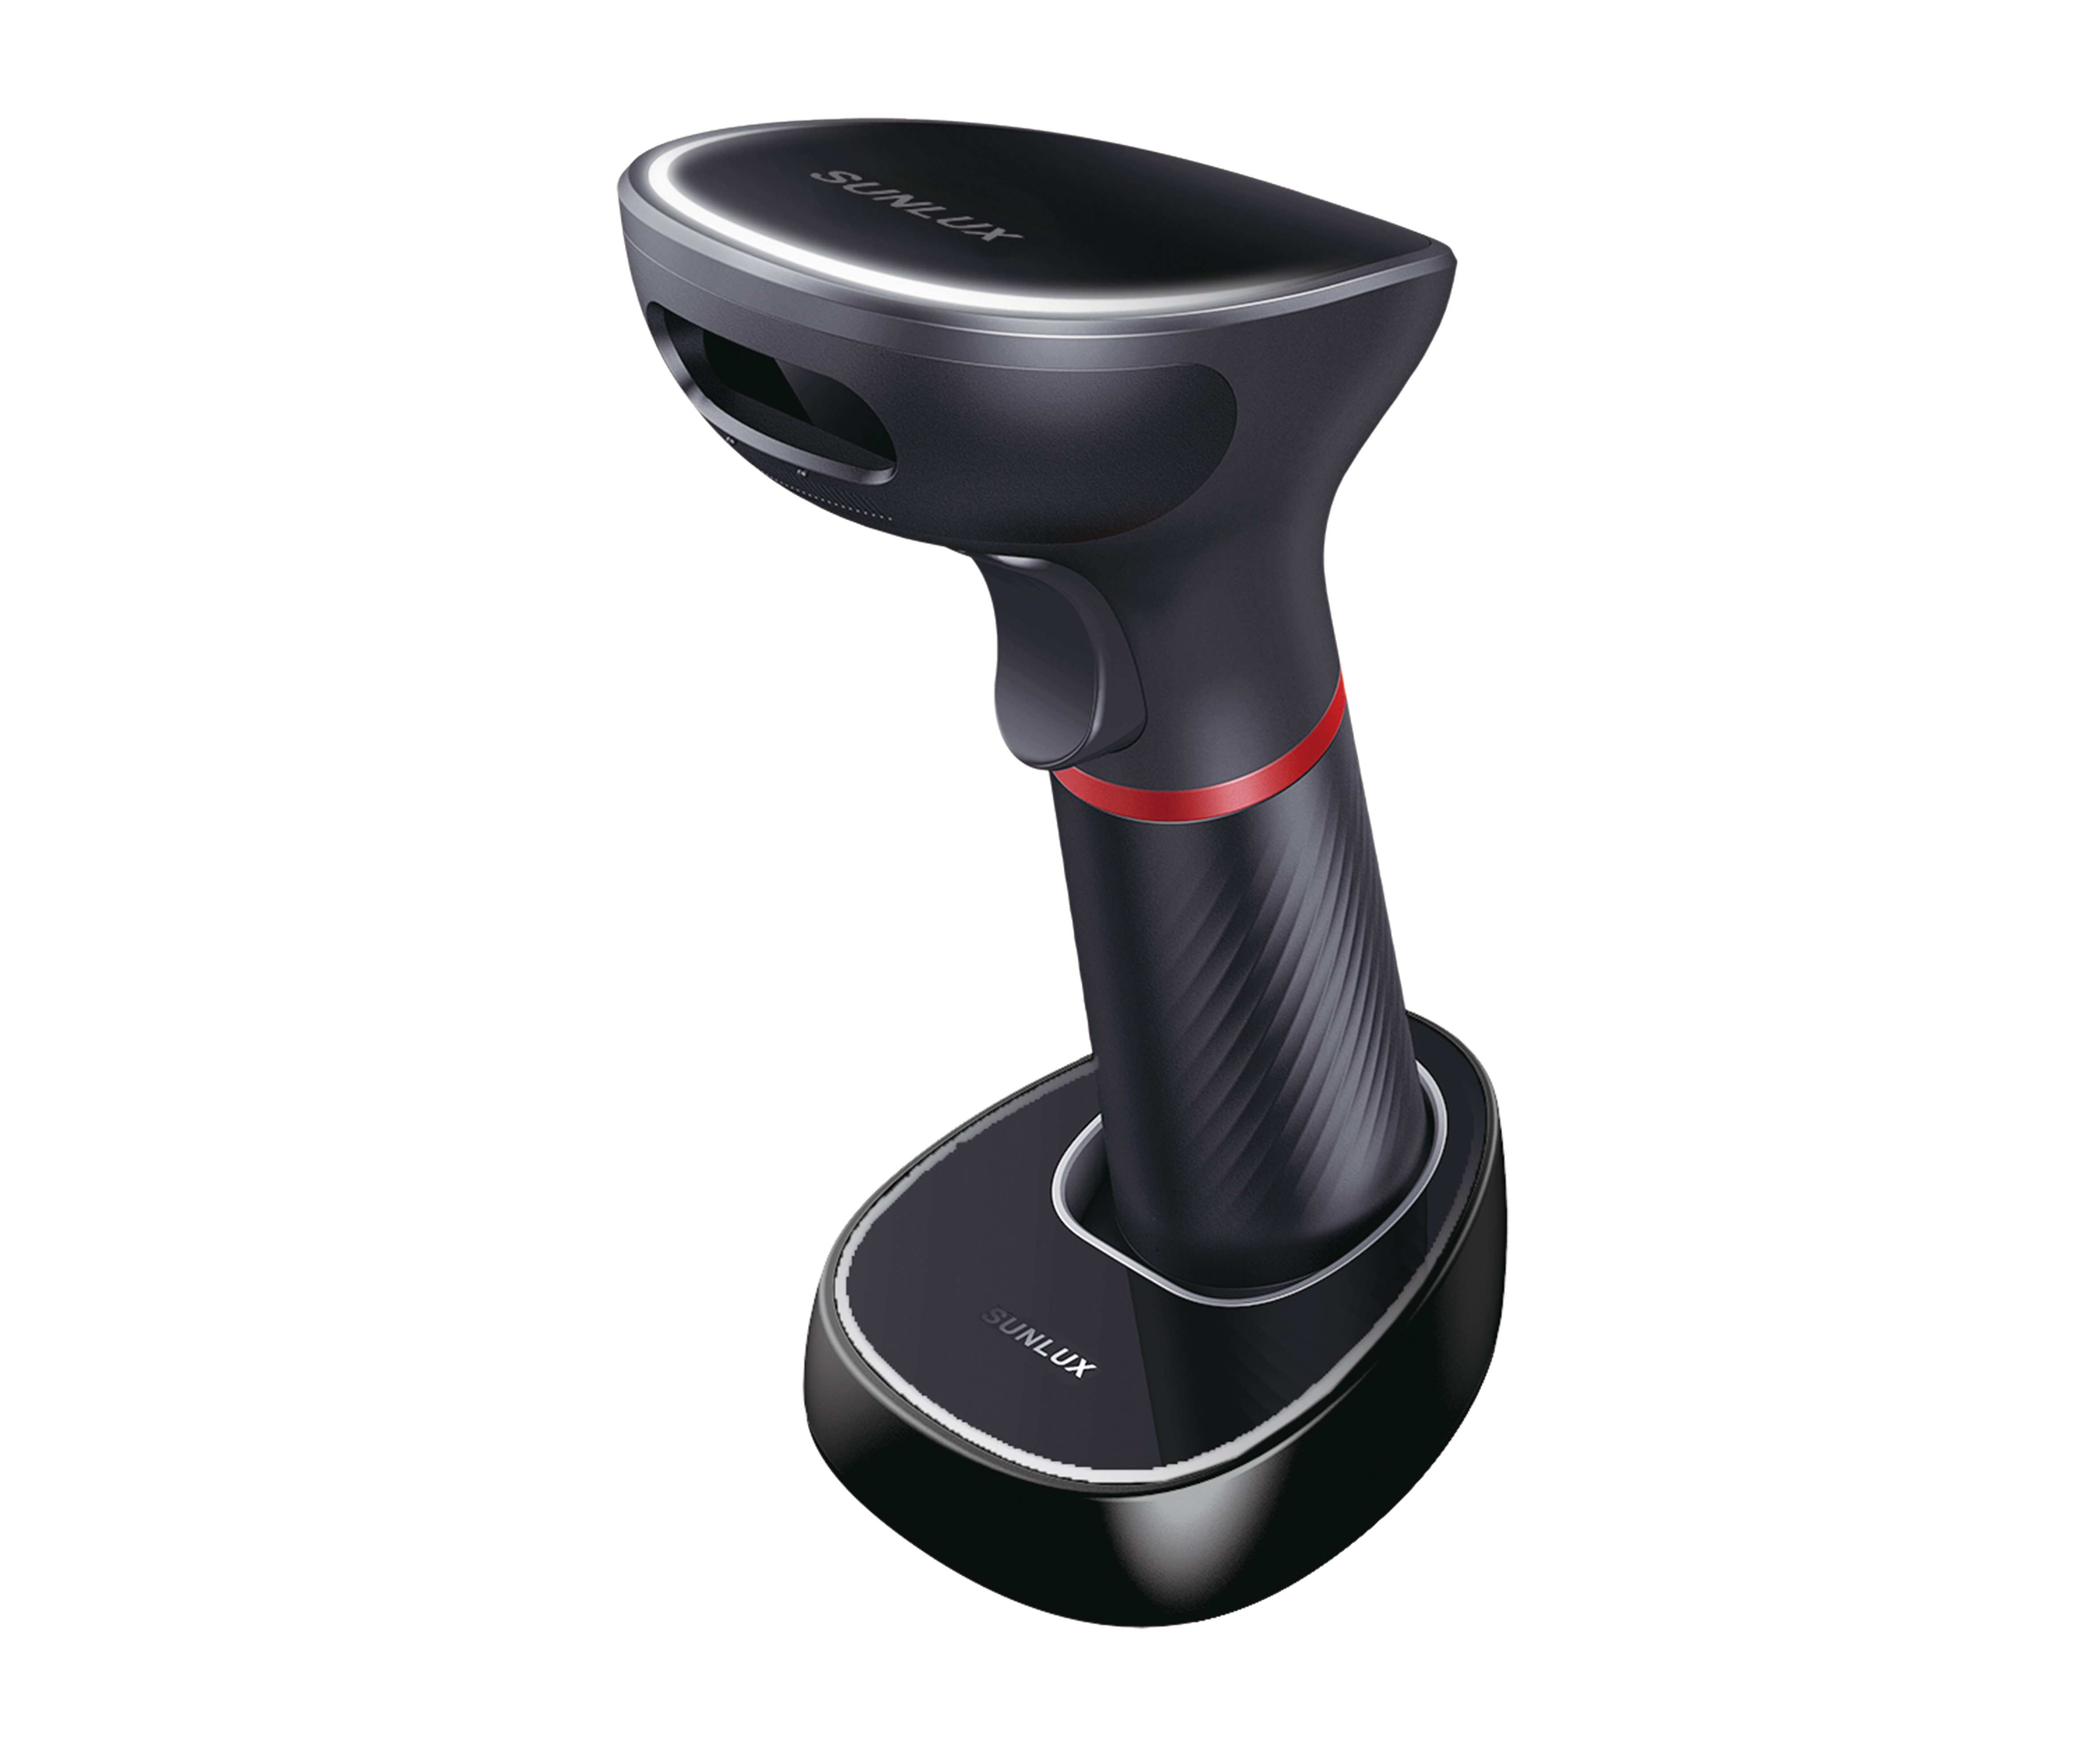
Установка сканера на базовую станцию в вертикальном положении позволяет работать в режиме Hands-Free с автоматическим сканированием, освобождая руки кассиру. Поддерживаются обновления в режиме онлайн.
Сканеры штрихкодов
Идет поиск…
Ничего не найдено. Попробуйте изменить поиск
123123
- Global POS GP-3200, GP-3300
- G SENSE IS1401-2D-USB
- Honeywell Voyager 1450g, 1452g, 1470g (2D)
- Mercury 600 p2d, 2200, 2210, 2300 p2d, 2310 p2d
- Mindeo MD 6600 HD
- MyPOS MSC-6607C2D
- Newland HR3280
- Space LITE, X-2020 Penguin, X-2020-2d-usb
- Sunlux XL-9610
- Symbol Zebra DS4308 (2D)
- Winson 6213 B/V-USB, WNI-6028g
- АТОЛ SB-1101 (1D)
- АТОЛ SB-2108 Plus (2D)
- Вместо названий отсканированных товаров появляются непонятные символы
- Встроенный сканер штрихкодов
- Не работает сканер штрихкодов
- Перевести сканер в режим эмуляции COM-порта
Sunlux XL-9610
Минимальные требования:
- Прошивка Эвотора версии 4.1.2 или выше. Проверить можно в Настройки → Обслуживание кассы. Версия прошивки указана в строке «Версия ОС».
Как обновить прошивку Эвотора до последней версии - EvotorPOS версии 6.29.1 или выше. Проверить можно в Ещё → Настройки → Приложения. Выберите Evotor POS. Версия программы будет указана под названием. Если она ниже заявленной, обновите прошивку Эвотора до последней версии — EvotorPOS также обновится.
- Драйвер 2D сканера для режима эмуляции COM-порта.
Мы рекомендуем работать со сканером в режиме эмуляции COM-порта. Для правильной работы в режиме HID требуется дополнительная настройка. Даже после настройки мы не можем гарантировать, что сканер будет правильно читать все коды маркировки.
- Подключите сканер к Эвотору.
- Переведите сканер в режим эмуляции COM-порта. Для этого отсканируйте штрихкод.

Готово! Можете начинать торговлю.
Products
- 2D Desktop Barcode Scanner
- 2D Barcode Scanner
- 2D Wireless Barcode Scanner
- 1D Wireless Barcode Scanner
- Omnidirectional Scanner
- Barcode Scanner Module
- Handheld Barcode Scanner
- Handfree Barcode Scanner
- Portable Label Printer
- Receipt Printer
Location:Home > Products > 2D Wireless Barcode Scanner
XL-9610
· 2200mAh Battery Capacity
· Transfer distance 2.4G: 150M & Bluetooth:10M
· With memory, can store 100,000 EAN-13 barcode
· Long working time: one full charge support 60,000/times scan
· Support update online, more convenient for after-sales service
· Flexible in reading 1D&2D code (including colored, stained and fuzzy code)

Product ImageProduct leafletsTechnical ParametersDownload
Copyright © 2006-2019 SUNLUX IOT TECHNOLOGY(GUANGDONG) INC.All rights reserved.